Post by Deleted on Dec 10, 2014 9:37:14 GMT -5
As many of you know, the Tim Wade net is TOUGH! I have removed plenty of crappie trees, various other snags, BIG TREES and retrieved it in 30 feet of water using spoons after my buddy let go of the line. The net had 6 spoons in it before we got it up. Then my net met it's match on something like a stump or a rock. The great thing was...rather than rip or be lost, the braille lines stretched and broke. So...I was able to retrieve the net itself with minimal damage. Rather than make my own set of new braille lines, I decided to order some from Tim Wade himself for $15.
Here is what they look like:

Tim walked me through the whole process which is what I will now share with you.
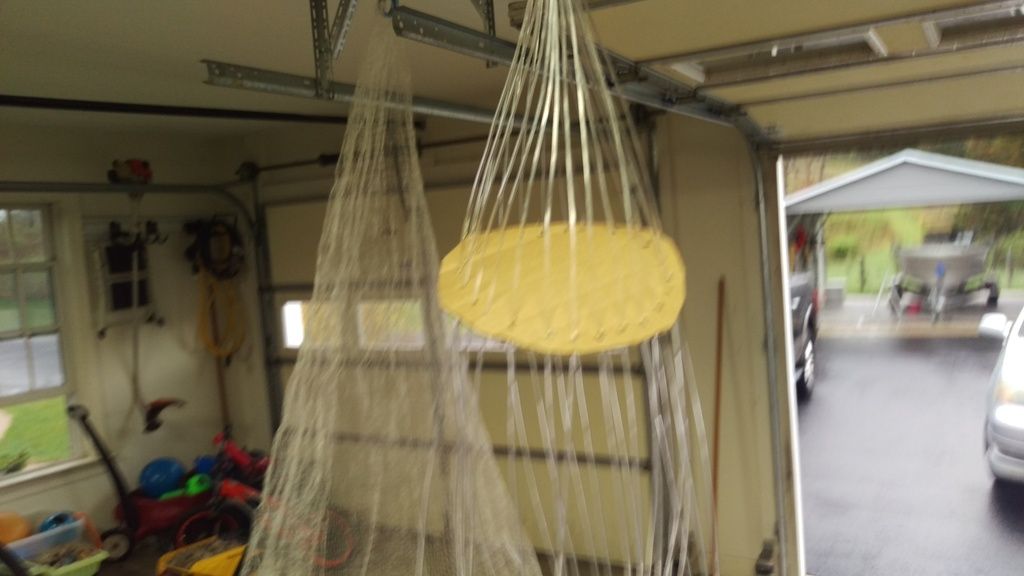
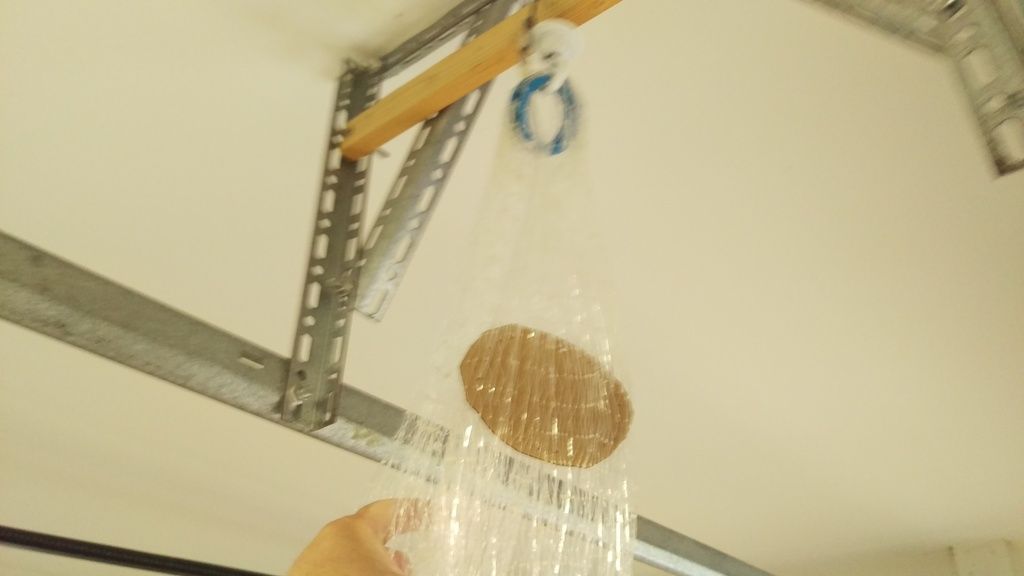
The first thing you need to do is cut the ends of the new lines to be exactly even. Then, cut off the old braille lines but leave the old knots and a bit of tag so you know where to secure the new braille lines. Then you need to hook your horn and new braille lines so that you can stretch out the net. Make sure this hook is very secure.
 NOTE: I took this picture after I was done. The braile line swivel needs to be above or even with the horn.
Then, simply take one braille line and stretch it out with the net as tight as possible. Then use a black marker to mark the line about 1/4 inch more than even. Bottom line, you want to error on the side of the braille lines being longer than the net from the horn to the lead line. After carefully determining your length, do a couple more from other sides. Then determine the best or average length. After playing around a bit with this, then measure the distance from the end of the braille line and use this measurement to mark all of the braille lines at the same time. For me, the magic number was 7 inches.
The next part is a bit frustrating, that is, keeping the braille lines in order. What I did was divide the lines into two halves (12 on each side) attempting to find the 12 that are on the one side of the swivel and the 12 on the other side. After doing this to one half, I taped them together and got them out of my way. I then focused on the other 12. I basically split the 12 into 4 parts attempting to keep them in order. Once found, I would send three down the horn, get under the net, pull them to the lead lines and secure using the mark.
To secure, you have two options. The first is using a crimp sleeve. The second is using a UNI knot. The crimp sleeve is easy. The UNI knot takes some practice but is better for the net as the crimp sleeve has been known to weaken the braille line. If you choose the uni knot option, use your old braille lines, put some marks on them and practice tying the knots so that you can get the mark in the same spot for each tie.
Here is what my knots look like:

Here is a link on how to tie a UNI knot:
www.netknots.com/fishing_knots/uni-knot/
Because the braille lines are thick, you need (MUST) to wrap them twice rather than the 5-6 times shown in the above link.
SO... the final trick is once you have the uni knot almost secure, line up the tag end and the braille line where the tag is pointing towards the horn. With these two lines firmly between your fingers, yank the net briskly (the secured hook is your resistance). The point here is to seat the knot. But be careful, if you yank it too hard, the braille line will cut itself. This is also why you need a few practice ties.
The entire procedure took me about 4 hours the first time, but I am confident I can do it much quicker now. And...my net throws awesome AGAIN!
NOTE: I will be taking my crimp sleeves with me just in case my knots come undone. I am sure I probably screwed a few of them up and after you cut off the tag, retying is probably impossible.
Tim will send you the crimp sleeves along with the lines.
Here is what they look like:

Tim walked me through the whole process which is what I will now share with you.
The first thing you need to do is cut the ends of the new lines to be exactly even. Then, cut off the old braille lines but leave the old knots and a bit of tag so you know where to secure the new braille lines. Then you need to hook your horn and new braille lines so that you can stretch out the net. Make sure this hook is very secure.
 NOTE: I took this picture after I was done. The braile line swivel needs to be above or even with the horn.
Then, simply take one braille line and stretch it out with the net as tight as possible. Then use a black marker to mark the line about 1/4 inch more than even. Bottom line, you want to error on the side of the braille lines being longer than the net from the horn to the lead line. After carefully determining your length, do a couple more from other sides. Then determine the best or average length. After playing around a bit with this, then measure the distance from the end of the braille line and use this measurement to mark all of the braille lines at the same time. For me, the magic number was 7 inches.
The next part is a bit frustrating, that is, keeping the braille lines in order. What I did was divide the lines into two halves (12 on each side) attempting to find the 12 that are on the one side of the swivel and the 12 on the other side. After doing this to one half, I taped them together and got them out of my way. I then focused on the other 12. I basically split the 12 into 4 parts attempting to keep them in order. Once found, I would send three down the horn, get under the net, pull them to the lead lines and secure using the mark.
To secure, you have two options. The first is using a crimp sleeve. The second is using a UNI knot. The crimp sleeve is easy. The UNI knot takes some practice but is better for the net as the crimp sleeve has been known to weaken the braille line. If you choose the uni knot option, use your old braille lines, put some marks on them and practice tying the knots so that you can get the mark in the same spot for each tie.
Here is what my knots look like:

Here is a link on how to tie a UNI knot:
www.netknots.com/fishing_knots/uni-knot/
Because the braille lines are thick, you need (MUST) to wrap them twice rather than the 5-6 times shown in the above link.
SO... the final trick is once you have the uni knot almost secure, line up the tag end and the braille line where the tag is pointing towards the horn. With these two lines firmly between your fingers, yank the net briskly (the secured hook is your resistance). The point here is to seat the knot. But be careful, if you yank it too hard, the braille line will cut itself. This is also why you need a few practice ties.
The entire procedure took me about 4 hours the first time, but I am confident I can do it much quicker now. And...my net throws awesome AGAIN!
NOTE: I will be taking my crimp sleeves with me just in case my knots come undone. I am sure I probably screwed a few of them up and after you cut off the tag, retying is probably impossible.
Tim will send you the crimp sleeves along with the lines.