Home storage shad tank build
Jan 23, 2014 19:38:06 GMT -5
mwardncsu, CorneliaGale, and 1 more like this
Post by mytoyzfishing on Jan 23, 2014 19:38:06 GMT -5
So I decided to build a different home storage tank than I was running last year. I wanted something that I could keep in my garage instead of outside behind my bedroom window. There were several reasonings behind it but in order to be able to fit it in the garage along with the boat and my little one's outside toys it had to have a fairly small foot print so I found a 300 gal tote tank on Craigslist for $100. This is what I am using as the tank.
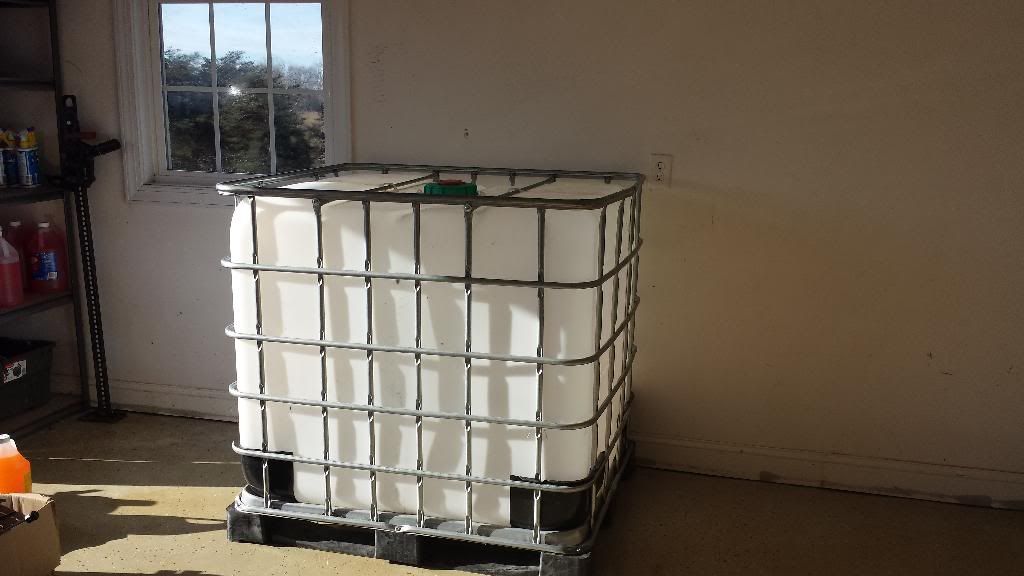
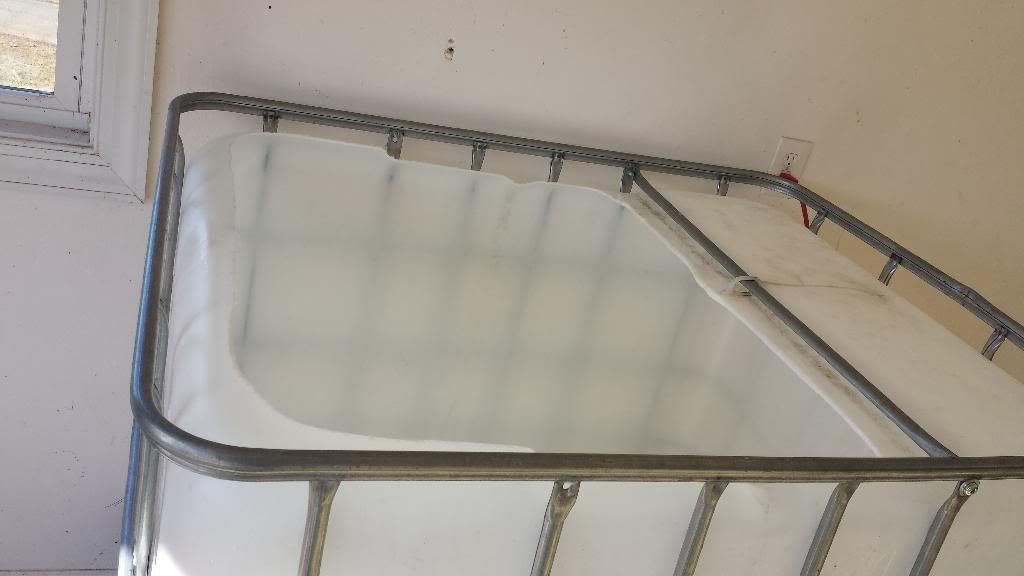
These have 2 cross bars across the top of which I removed 1 and left the other to support the filter. I cut out the opening in the top with a Sawzall.
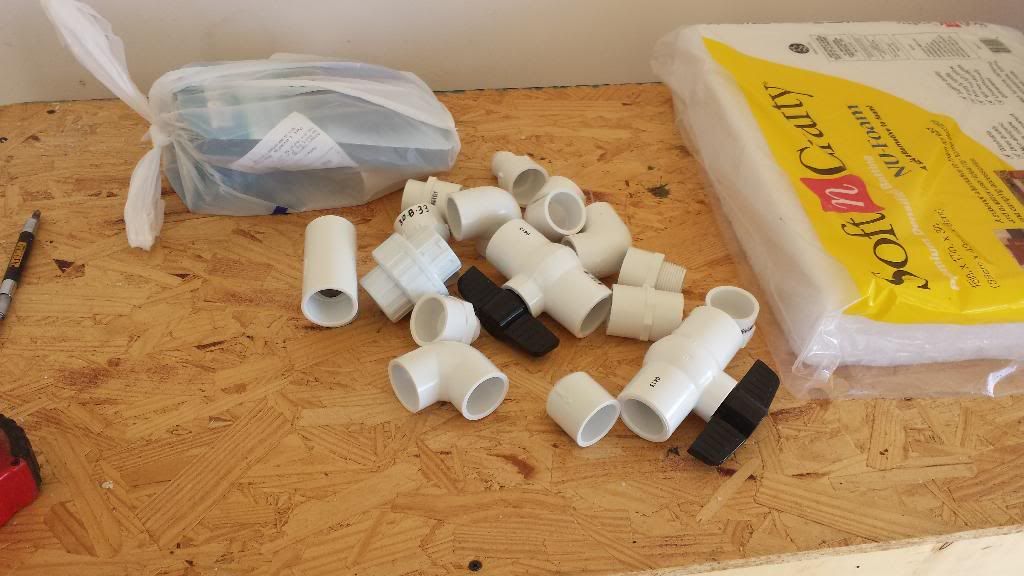
1" PVC and fitings.
For the filter this is what I did. I had a couple of aquarium pumps from my old saltware reef tank so I reused them. For the filter pump I am using a Danner Mag Drive 9.5 which I originially bought here:
www.marinedepot.com/Danner_Mag_Drive_Supreme_Water_Pump_Up_to_500_Gallons_Per_Hour_Submersible_Aquarium_Pumps-Danner_Mfg.-DN1119-FIWPSBUF-vi.html
These pumps have threaded intakes and out flows which comes in handy for plumbing it all in. For all plumbing parts going to the I used 1" PVC and Flexible tubing. I used a threaded/slip fitting on the intake of the pump and then cut a section of 1" PVC to streach across the tank with the pump sitting in the corner. I put a 1" PVC cap on the far end and drilled 7/16 holes all the way down and along the portion that would be the bottom of the intake. This way it picks up all the junk across the bottom of the tank.
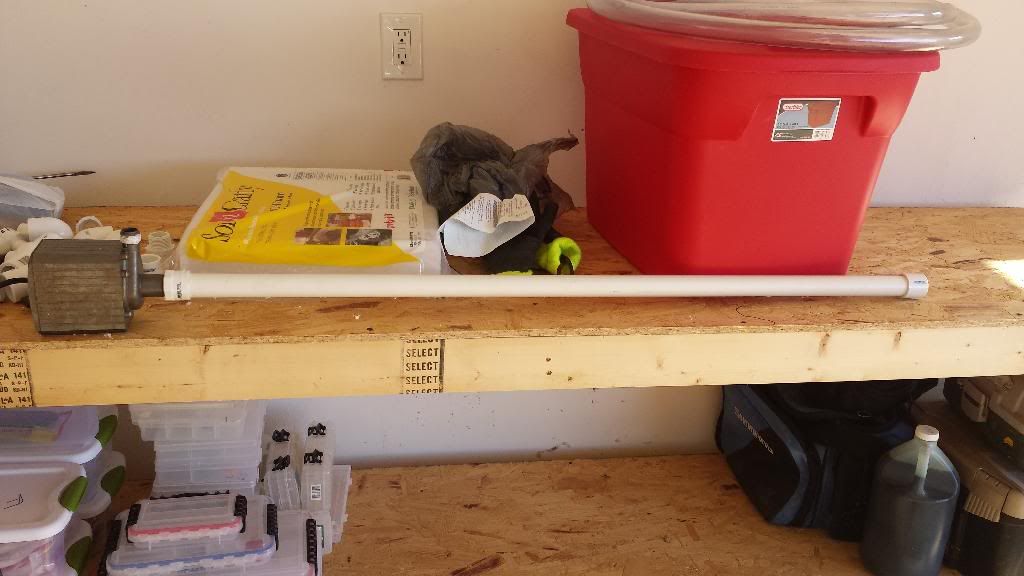
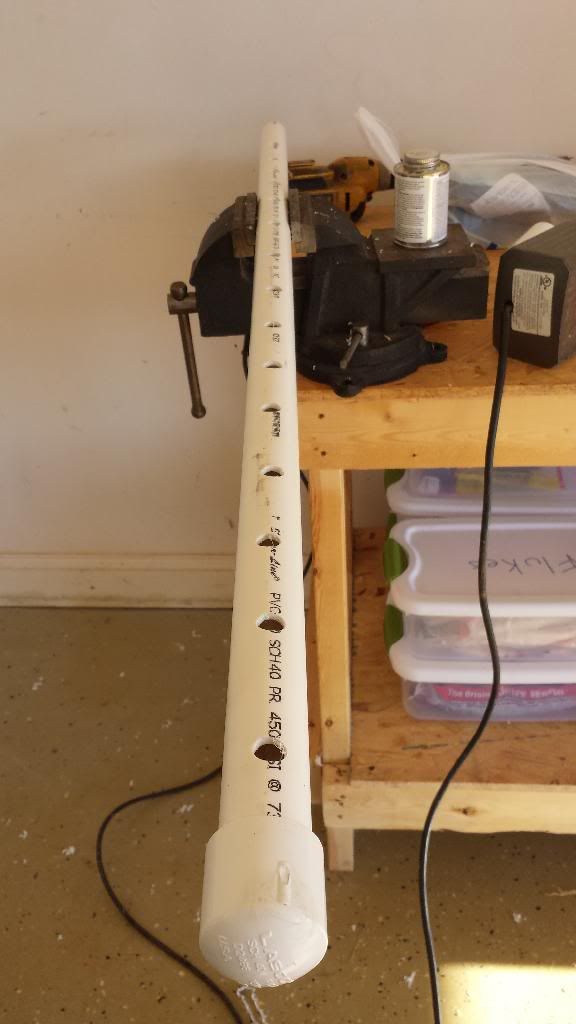
Then on the outflow side of the pump I used another 1" threaded/slip fitting and 1" PVC. I put a 1" union fitting just above where the water line would be to make things more easily when comes time to remove the pump for any reason.
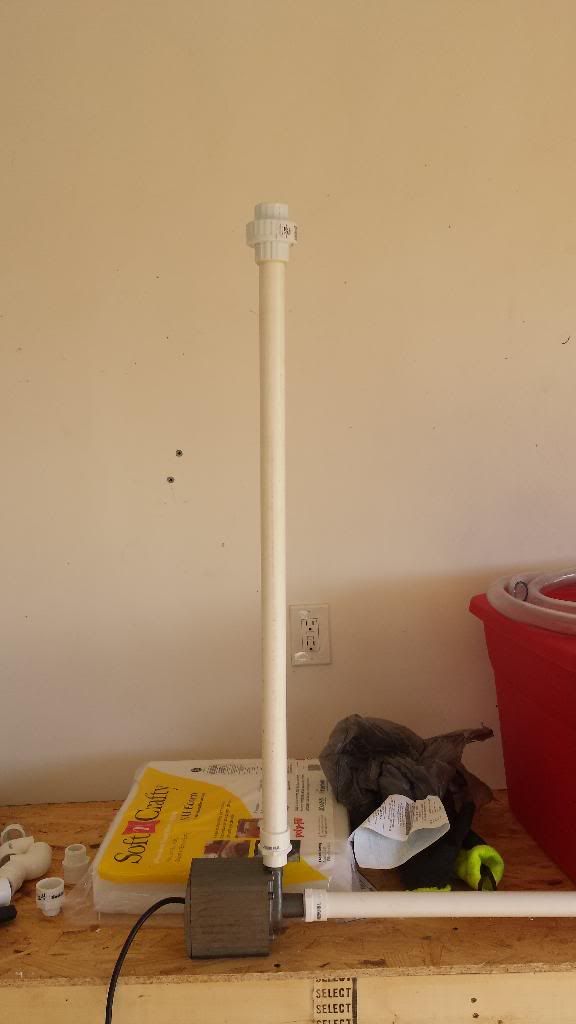
Right abouve the tank line I put a 90deg elbow to head towards the area the filter will sit. Right after the 90 I put a T in with 2 sides going to 1" ball valves. One ball valve has a threaded fitting put into it that fits a regular garden hose. This is so I can easily and cleanly drain water out of the tank for water changes and also I can pump the water from the holding tank into the boat live well. This way it is water that the shad are already use to and lessening the shock. The other ball valve goes to a hose barb to fit 1" flexible tubing. Then Flexible tubing to the filter. this gives some flexabiltiy of shifting the filter around without moving the pump.
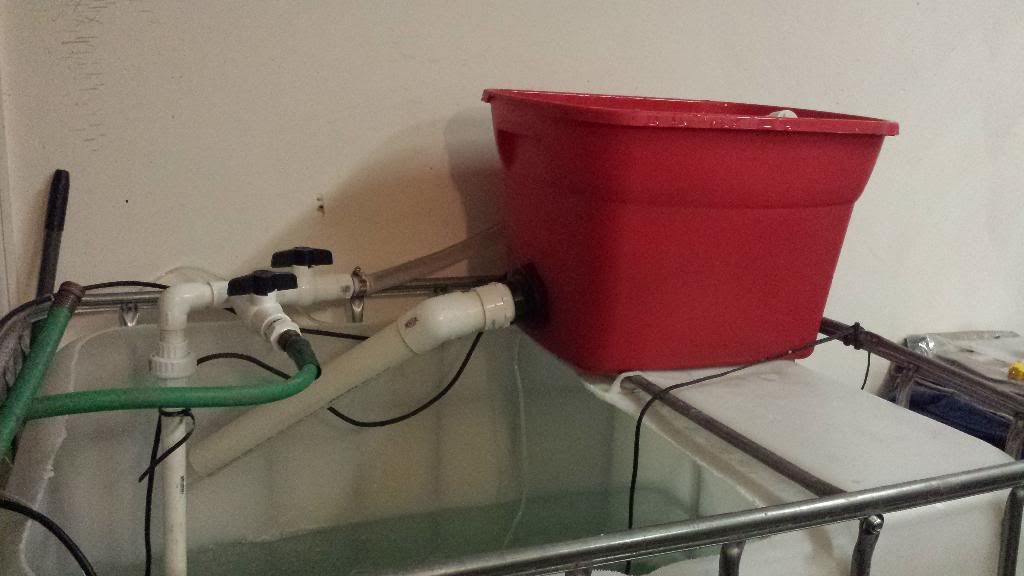
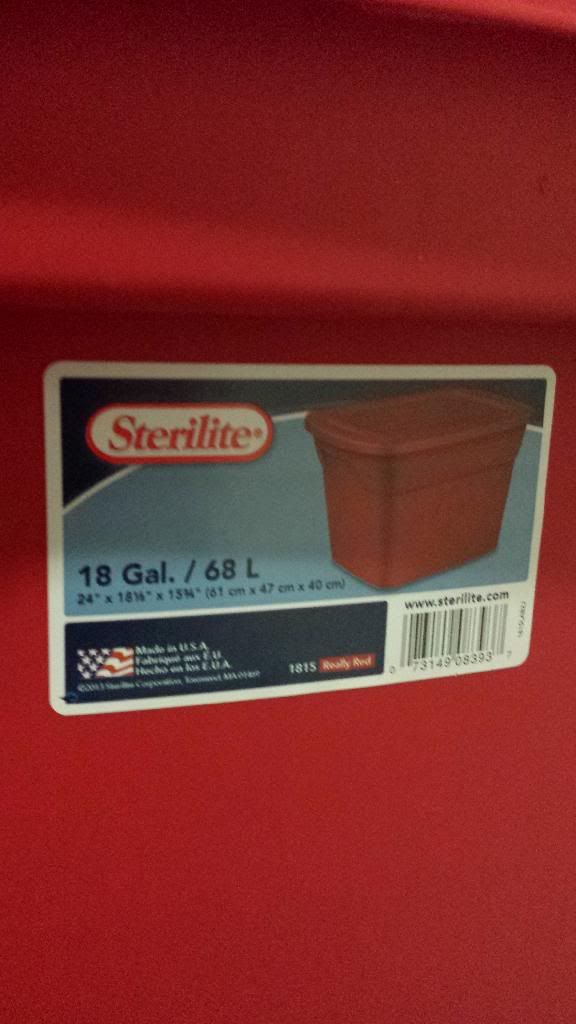
The filter itself is made out of a 18 gallon Rubbermaid Tote
The inlet into the filter come in the top side of the tote. I drilled a hole that would let me sandwitch the tote between a 1" female threaded fiting and a 1" threaded fitting. Essentially take the Male and Female threaded fittings and screw them together sandwitching the tote between them. On the outside fitting I put a 90 degree and a 1" Hose barb to hook up the flexable tubing from the pump side. On the inside I used a peice of 1" PVC slid into the fitting and a cap on the far end. I drilled 7/16" holes across the PVC to create a spray bar.
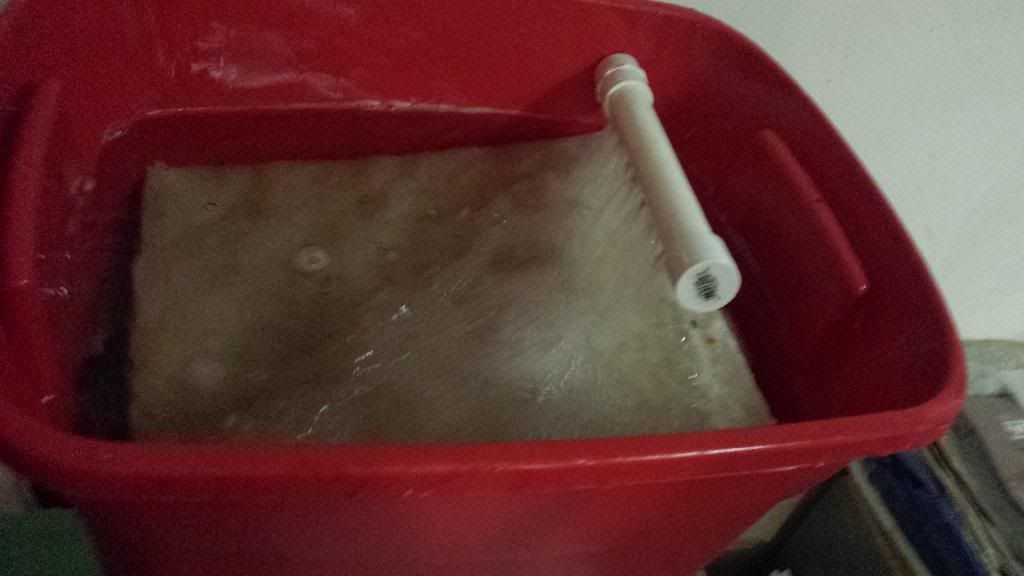
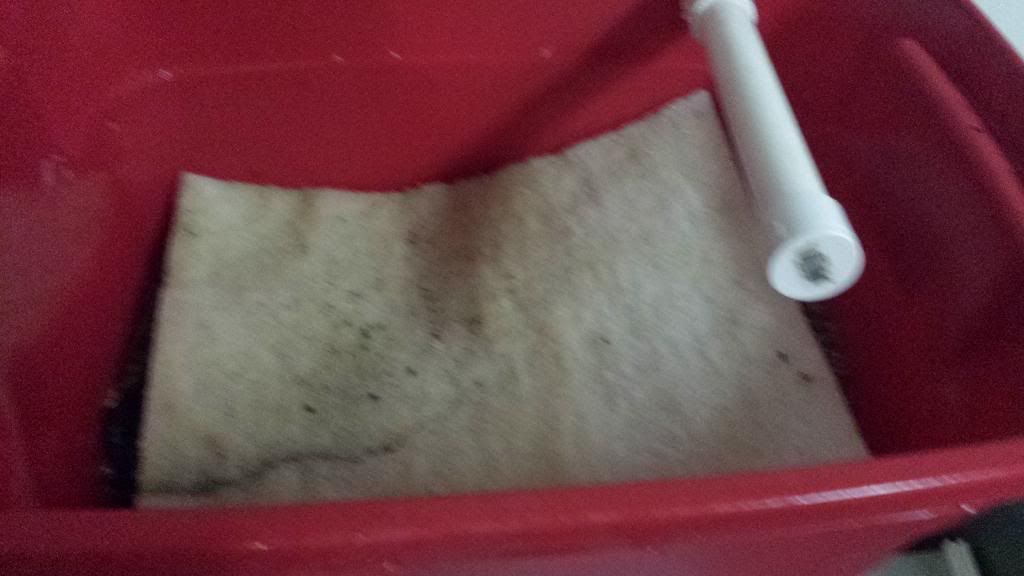
For the actual part of filter material I used a base layer of 25 pounds of pea gravel for biologicial filtration and ontop of that a 2" thick sheet of pollyfill for mechanical filtration
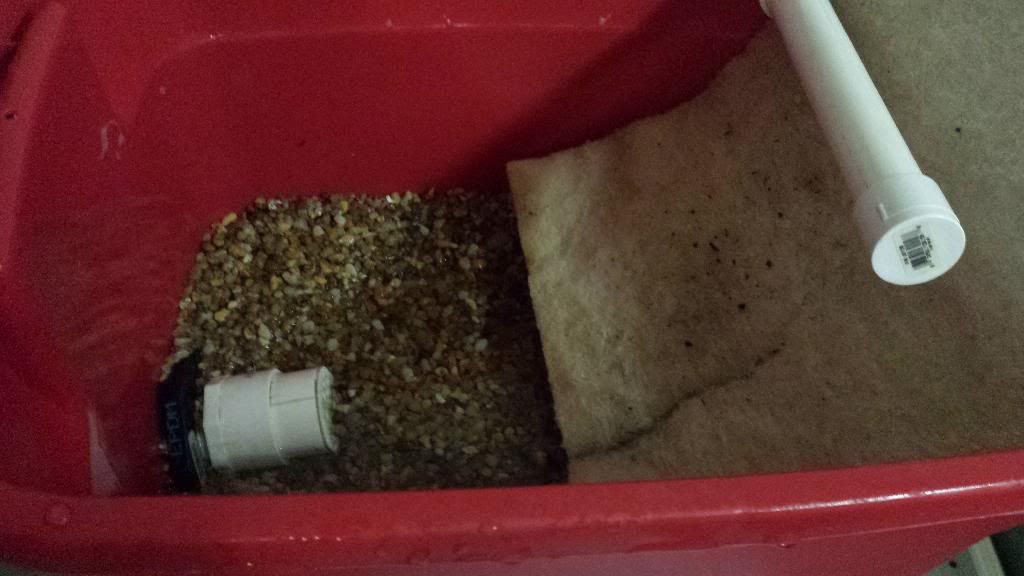
For the outlet side of the filter back into the tank all the parts I used were 2". You always want your out flow to be larger than your inflow or you risk overflowing your filter. To make the outflow I used a bulkhead fitting sized to be used with 2" PVC. One note on that is I could only find the bulkhead fitting at Moneta Home and Garden on 122 in Moneta as I could not find it at Lowes or Home depot. I drilled a hole in the side of the tote close to the bottom that would fit the bulkhead.
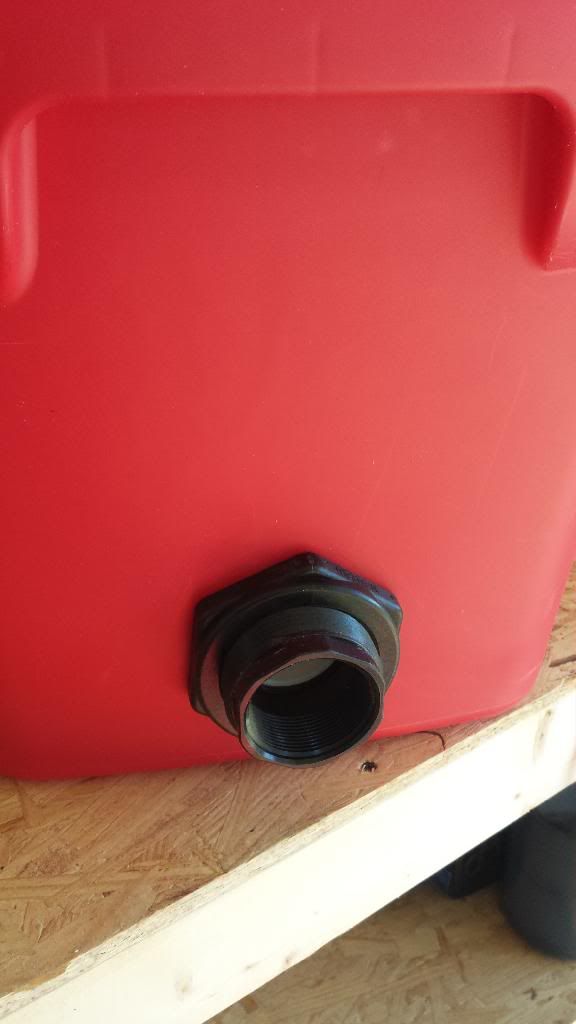
For the inside of filter box I used a 2" threaded/slip fitting and a short section of 2" PVC. Then I got a 2" Drain fitting that slip's into the end of the PVC. This keeps the gravel from being acidently washed into the shad tank. On one note on this though. You need to keep the gravel back some from the drain fitting as it will tend to slow the water flowing out of the drain and slowely raises the water level in the filter eventually spilling out the top.
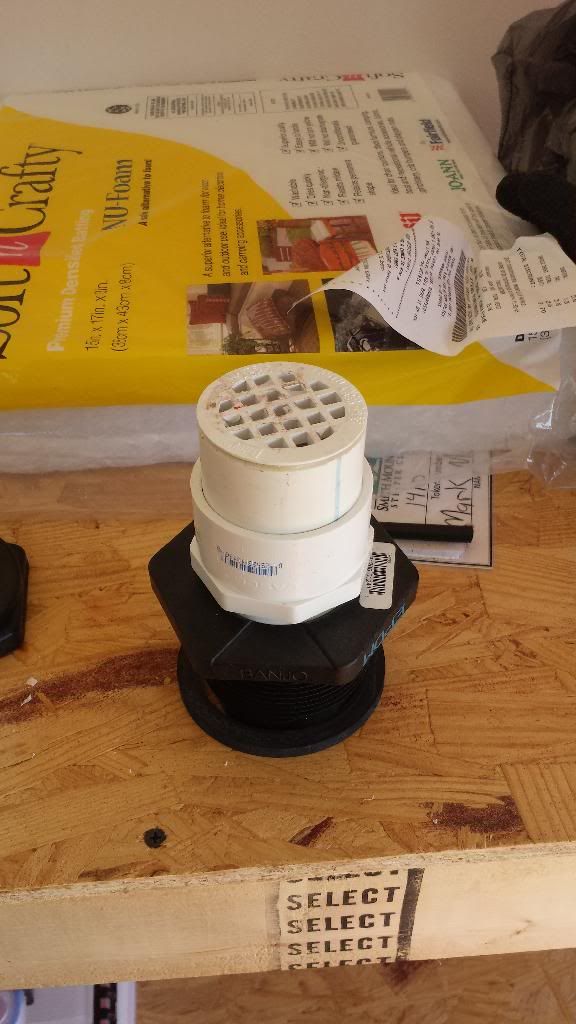
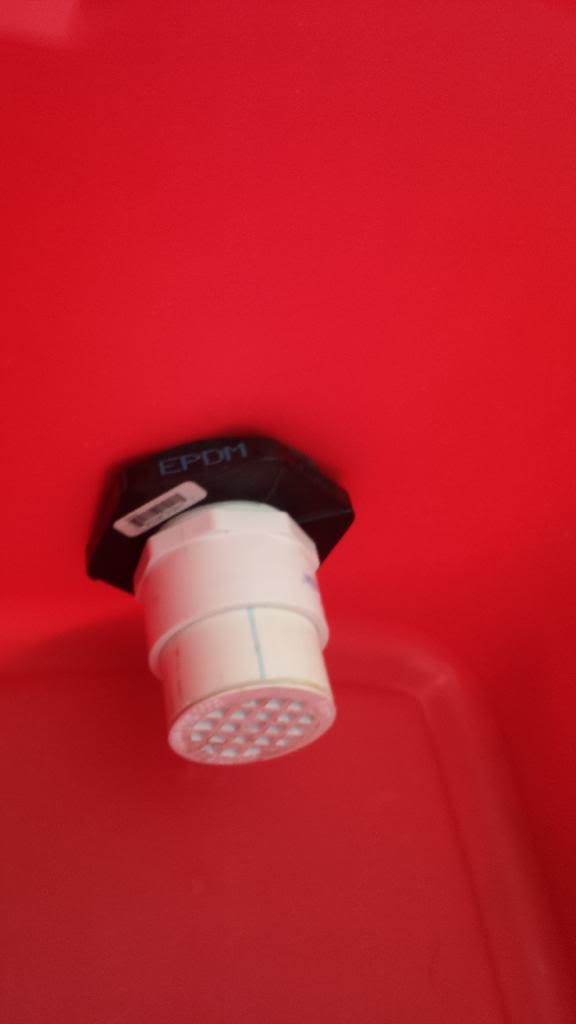
On the outside of the filter I used a 2" threaded/slip fitting and a short peice of 2" PVC to a 45 degree fitting. Then a section of 2" PVC to finsih it off down to the water. This section I did not use any PVC glue as I wanted to be able to move the direction of the outflow from the filter as I need. This also allows me to remove that peice if I need to take the filter off the top of the tank and sit on a work bench or floor to work on it. See the picture above with the 2 ball valves.
With the outflow of the filter pointed to the corner of the tank it creates a natural circular flow around the tank. But I wanted to add to the flow anyways. So I used another Danner Mag Drive 5 I had to creat a stronger current around the tank. I build a cude home made venturi infuser out of a peice of 90 degree PVC fitting that threads on the out flow of the pump. Then I drilled a hole to fit a small brass barb fitting into the top and used aquarium airline tubeing to the brass fitting. It worked ok with just the airline tubing but I had a good size duel port air pump, again left over from the saltwater tank I had, that I hooked up to the airline tubig and now I am force feeding the crude home made venturi wich is working really good. Then I took the other port to a large 4" round air stone on the bottom.
So far I've had the same shad in it for over 2 weeks without issue's but only time will tell on how long I can keep shad especially in the warmer months. Here is a quick cell phone video I did of it running.

These have 2 cross bars across the top of which I removed 1 and left the other to support the filter. I cut out the opening in the top with a Sawzall.

1" PVC and fitings.

For the filter this is what I did. I had a couple of aquarium pumps from my old saltware reef tank so I reused them. For the filter pump I am using a Danner Mag Drive 9.5 which I originially bought here:
www.marinedepot.com/Danner_Mag_Drive_Supreme_Water_Pump_Up_to_500_Gallons_Per_Hour_Submersible_Aquarium_Pumps-Danner_Mfg.-DN1119-FIWPSBUF-vi.html
These pumps have threaded intakes and out flows which comes in handy for plumbing it all in. For all plumbing parts going to the I used 1" PVC and Flexible tubing. I used a threaded/slip fitting on the intake of the pump and then cut a section of 1" PVC to streach across the tank with the pump sitting in the corner. I put a 1" PVC cap on the far end and drilled 7/16 holes all the way down and along the portion that would be the bottom of the intake. This way it picks up all the junk across the bottom of the tank.


Then on the outflow side of the pump I used another 1" threaded/slip fitting and 1" PVC. I put a 1" union fitting just above where the water line would be to make things more easily when comes time to remove the pump for any reason.

Right abouve the tank line I put a 90deg elbow to head towards the area the filter will sit. Right after the 90 I put a T in with 2 sides going to 1" ball valves. One ball valve has a threaded fitting put into it that fits a regular garden hose. This is so I can easily and cleanly drain water out of the tank for water changes and also I can pump the water from the holding tank into the boat live well. This way it is water that the shad are already use to and lessening the shock. The other ball valve goes to a hose barb to fit 1" flexible tubing. Then Flexible tubing to the filter. this gives some flexabiltiy of shifting the filter around without moving the pump.

The filter itself is made out of a 18 gallon Rubbermaid Tote

The inlet into the filter come in the top side of the tote. I drilled a hole that would let me sandwitch the tote between a 1" female threaded fiting and a 1" threaded fitting. Essentially take the Male and Female threaded fittings and screw them together sandwitching the tote between them. On the outside fitting I put a 90 degree and a 1" Hose barb to hook up the flexable tubing from the pump side. On the inside I used a peice of 1" PVC slid into the fitting and a cap on the far end. I drilled 7/16" holes across the PVC to create a spray bar.

For the actual part of filter material I used a base layer of 25 pounds of pea gravel for biologicial filtration and ontop of that a 2" thick sheet of pollyfill for mechanical filtration


For the outlet side of the filter back into the tank all the parts I used were 2". You always want your out flow to be larger than your inflow or you risk overflowing your filter. To make the outflow I used a bulkhead fitting sized to be used with 2" PVC. One note on that is I could only find the bulkhead fitting at Moneta Home and Garden on 122 in Moneta as I could not find it at Lowes or Home depot. I drilled a hole in the side of the tote close to the bottom that would fit the bulkhead.

For the inside of filter box I used a 2" threaded/slip fitting and a short section of 2" PVC. Then I got a 2" Drain fitting that slip's into the end of the PVC. This keeps the gravel from being acidently washed into the shad tank. On one note on this though. You need to keep the gravel back some from the drain fitting as it will tend to slow the water flowing out of the drain and slowely raises the water level in the filter eventually spilling out the top.


On the outside of the filter I used a 2" threaded/slip fitting and a short peice of 2" PVC to a 45 degree fitting. Then a section of 2" PVC to finsih it off down to the water. This section I did not use any PVC glue as I wanted to be able to move the direction of the outflow from the filter as I need. This also allows me to remove that peice if I need to take the filter off the top of the tank and sit on a work bench or floor to work on it. See the picture above with the 2 ball valves.
With the outflow of the filter pointed to the corner of the tank it creates a natural circular flow around the tank. But I wanted to add to the flow anyways. So I used another Danner Mag Drive 5 I had to creat a stronger current around the tank. I build a cude home made venturi infuser out of a peice of 90 degree PVC fitting that threads on the out flow of the pump. Then I drilled a hole to fit a small brass barb fitting into the top and used aquarium airline tubeing to the brass fitting. It worked ok with just the airline tubing but I had a good size duel port air pump, again left over from the saltwater tank I had, that I hooked up to the airline tubig and now I am force feeding the crude home made venturi wich is working really good. Then I took the other port to a large 4" round air stone on the bottom.
So far I've had the same shad in it for over 2 weeks without issue's but only time will tell on how long I can keep shad especially in the warmer months. Here is a quick cell phone video I did of it running.


